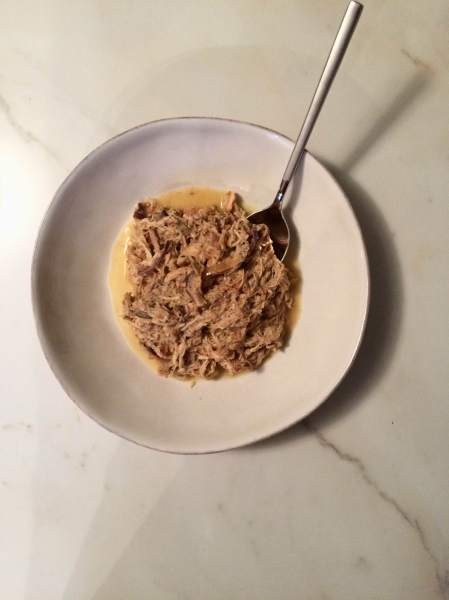
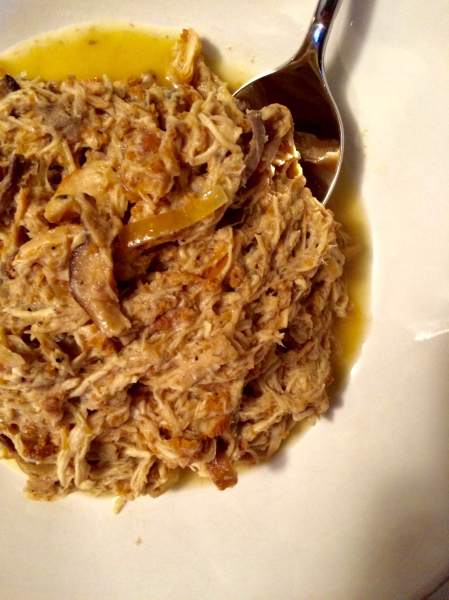
chicken and mushroom gravy: crockpot edition

Time to dust off the crockpot, y’all. It’s the most wonderful time of year!

…crockpot season, that is! While this beloved appliance of mine makes celebrity appearances during the summer {for dishes such as this and this}, it truly shines during the cooler months. There’s something so special about a slow cooked meal, and walking into your home at the end of a dreary day, greeted by aromas wafting from the kitchen. It is instantly soothing, like a hug or a pat on the back with someone saying – “don’t worry, dinner is on me tonight”.

Except we prepared ahead! This dish couldn’t be easier. For awhile now, I’ve been craving a mushroom gravy. I didn’t know with what, though; I spent a few nights last week brainstorming dinner ideas, and when I stumbled upon this recipe, I knew it would be perfect. I tweaked it a bit to fit the current state of our refrigerator, and voila! A perfect chicken dinner, prepared in no time.

IMG_8477

IMG_8478

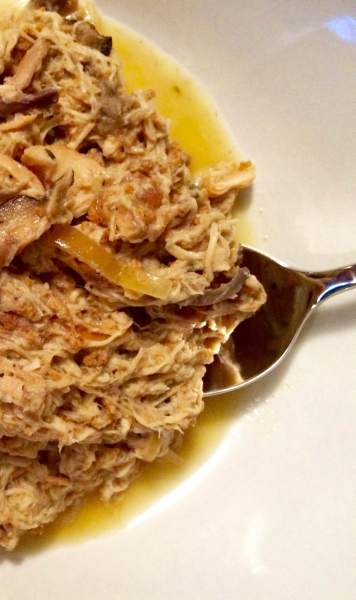
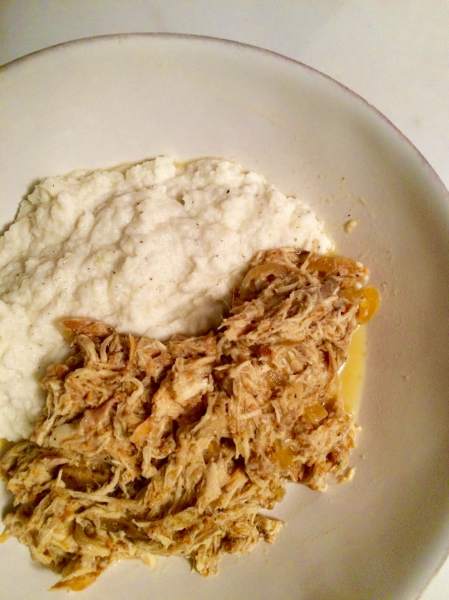
I spent the day at work {and the hubs too, I’m sure!} dreaming about this dish. Like I mentioned, I love the anticipation of the end of the day, knowing that dinner is doing work on itself. And y’all, it was amazing. From the moment I walked in until we sat down for our meal, there was nothing but smiles. The chicken is perfectly tender; the gravy is rich and flavorful. And piled high on top of your favorite starch, it’s a match made in chicken heaven.

IMG_8480

Enjoy!

~~~

Chicken & Mushroom Gravy: crockpot edition {recipe adapted from food.com}

Wonderfully comforting and delicious, this dish is the ideal fall meal. With minimal prep time, it can be thrown together minutes before walking out the door for work; you and your family will be rewarded with the glorious aroma of roasted chicken and gravy after a long day! 

Ingredients:

3 lbs. bone-in, skin-on chicken breast

8 ounces plain Greek yogurt

4 cups low-sodium chicken stock, divided

1 tsp. oregano

1 tsp. rosemary

1 tsp. onion powder

1 tsp. garlic powder

salt and pepper, to taste

1 large onion, thinly sliced

8 ounces sliced fresh mushrooms {I used shiitake}

2 Tbsp. cornstarch + 1/2 cup boiling water, combined {to be used at the final 15 minutes of the dish}

1 Tbsp. butter

To Prepare:

After removing the skin, generously season both sides of the chicken breasts with salt and pepper. Place into the crockpot, and top with the sliced mushrooms and onions.

In a small mixing bowl, whisk together the Greek yogurt, 2 cups of the chicken stock, and herbs. Season to taste with salt and pepper. Pour over the chicken and vegetables.

Cook on low for 6-7 hours, or until chicken is done and falling off the bone. At 15-20 minutes before serving, uncover the crockpot and shred the chicken and stirring well with the gravy mixture. Remove any bones you see! Pour in the remaining 2 cups of chicken stock, and add in the slurry {cornstarch and hot water}, making sure to combine thoroughly. Lastly, stir in the butter.

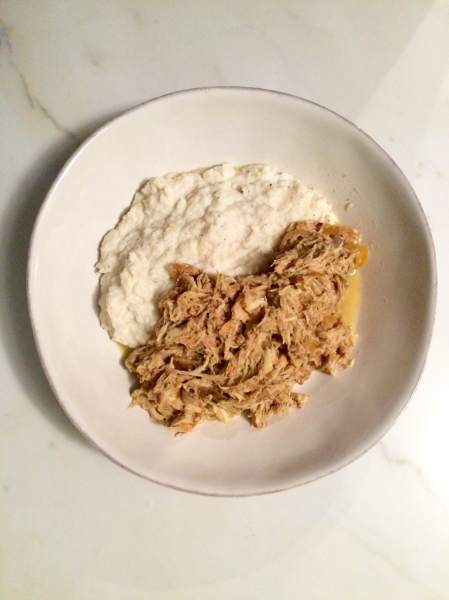
Serve over rice, egg noodles, or my favorite – – – smashed cauliflower.

IMG_8482

IMG_8481

Enjoy!

lightened up spinach artichoke dip

A lot of times, what we deem as “traditional” appetizers often get a bad rep. I mean, it’s not hard for that to happen. When we peel back the layers of ingredients and really dive in, we find that most are loaded down with heavy, not-so-healthy ingredients…full-fat mayonnaise, cream cheese, sour cream, an oftentimes an exorbitant amount of cheese on top. And that doesn’t even take into account the accouterments {fried chips, toasted bread, crackers and pretzels}. Now don’t get me wrong! – I am a big believer in maintaining a balance; everything in moderation, exercise portion control when needed. But sometimes, you might just want to do some serious work on appetizers and not feel guilty about it!

Enter this dish…

IMG_6862

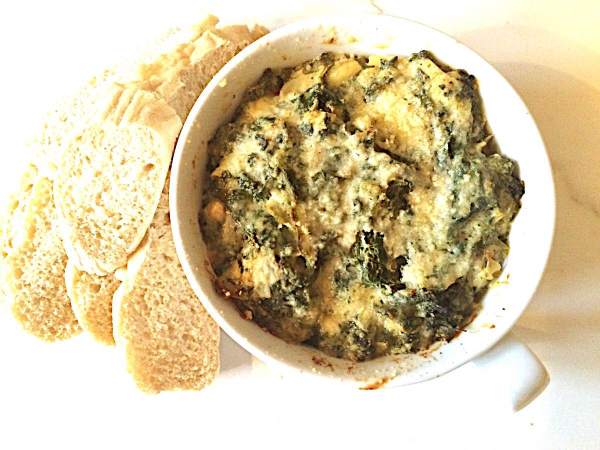
It’s bubbly, browned, crusty and FULL.OF.FLAVOR. Ladies and gentlemen, let me introduce you to your new favorite {and jazzed up!} spinach artichoke dip! Glancing down through the ingredient list, you’ll recognize instantly a few of my staples: Greek yogurt, blended cream cheese, etc. But what really makes this dish shine and stand out from its cousins is the explosion of spices and vegetables that we’re packing in. In just about 3 cups of dip, we’re utilizing smoky paprika, spicy garlic, onion powder, red pepper flakes{!!}, and tangy Parmesan. Seriously, your taste buds won’t know what hit them upon the first bite.

IMG_6859

This is a guaranteed crowd-pleaser, and is on constant rotation in our home. This can easily be doubled or tripled for the countless summer BBQs we will all surely be attending this summer; is wonderful spread onto sandwiches; I’ve even thrown it into a fritatta with shredded chicken. A dish with many purposes; not only super healthy, but super flavorful and oh-so-flexible!

~~~

Lightened Up Spinach/Artichoke Dip

A perfect dip for throwing together at the last minute, this is one of our go-to items for date nights at home. It’s tangy, refreshing, bubbling over with flavor…and good for you!

Ingredients:

12 ounces frozen spinach, cooked {make sure you drain it really well}

1 {14 ounce} can artichoke hearts, drained and roughly chopped

5 ounces of plain, non-fat Greek yogurt

2 Tbsp. cream cheese {I like to use a Greek yogurt/cream cheese blend that is available at my grocery store}

2 Tbsp. Parmesan cheese, plus more for topping

1 clove garlic, finely diced

1 tsp. smoked paprika

1 tsp. onion powder

large pinch of red pepper flakes {optional}

nonstick cooking spray

salt & pepper, to taste

To Prepare:

Preheat the oven to 400 degrees. Spray a round glass baking dish with nonstick cooking spray and set aside {mine holds about 3-4 cups worth of dip}.

In a large mixing bowl, combine all the ingredients. Mix well to combine; take extra care to make sure that the cream cheese and yogurt are thoroughly mixed into the vegetables and spices.

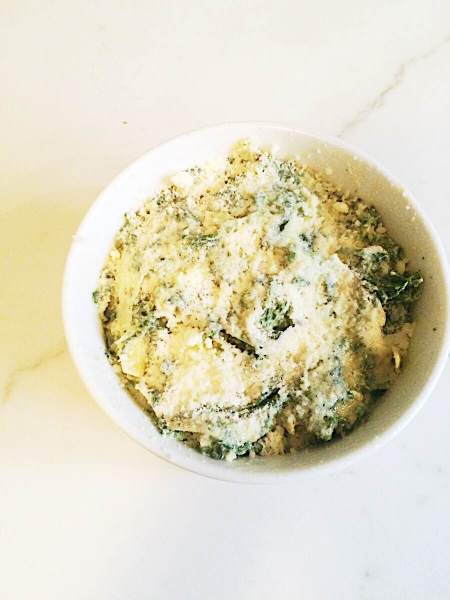
Spoon dip into the prepared baking dish. Top with additional Parmesan cheese.

Bake in the oven for about 30 minutes, or until the top is starting to turn golden brown and the edges are bubbling over slightly.

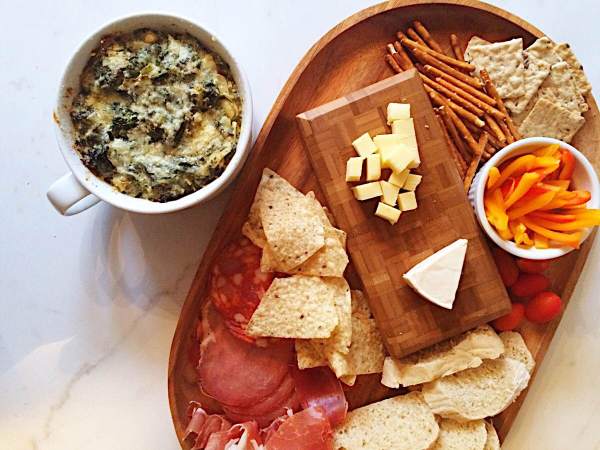
Serve hot with toast points, sliced vegetables, chips, etc…whatever you like.

IMG_6862

IMG_6861

Enjoy!

Vegas.com – A Challenge!

Awhile back, y’all might remember that my friends over at vegas.com provided me with an opportunity…a “challenge” if you will. I was asked to pick a dish from one of the famous Las Vegas hotels, and put my own unique twist on it. In typical Alicia fashion, I dove in head first, excited to stretch my culinary legs and see what I could come up with!

for those of you who might want to peak back, here’s my dish!

So I couldn’t be more excited to announce today that I was offered the opportunity to do it again! This time, we had a different list of restaurants to choose from. Immediately, a ‘roast chicken’ dish caught my eye. Something so simple, but offers endless possibilities. My brain started working and, after a few days of rolling ideas around, I finally got the light bulb – shepherd’s pie!

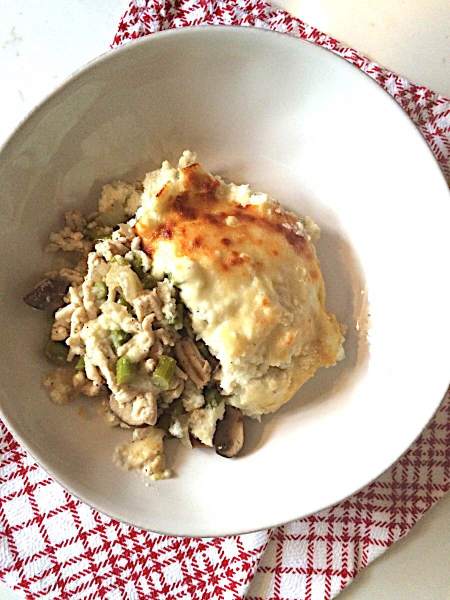
Now, before I go any further; this was no ordinary roast chicken dish. We’re talking gorgeous sauces, fine mushrooms, season vegetables. The whole nine yards. I mean, it’s Vegas after all! So I thought it would be a lot of fun to make the ingredients from the Vegas dish mimic the appearance of an actual shepherd’s pie. Fun, right?

IMG_6872

IMG_6874


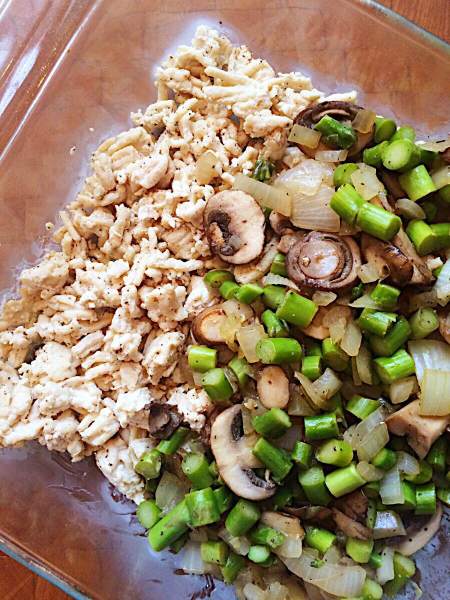
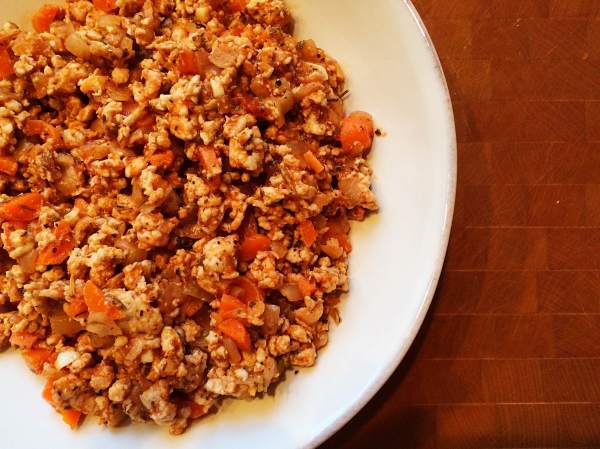
Perfectly seasoned ground chicken replaces the traditional beef.

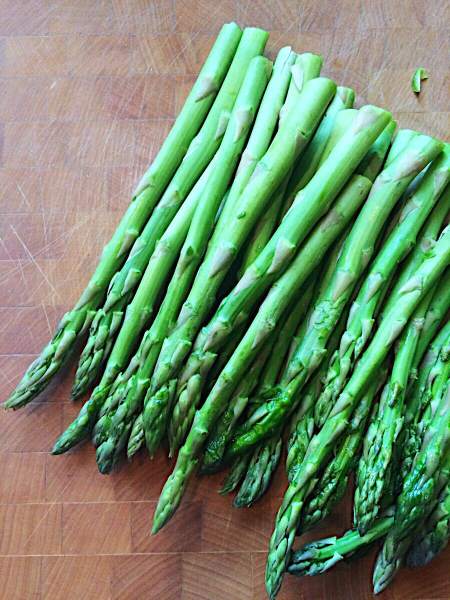
Diced asparagus looks a lot like peas!

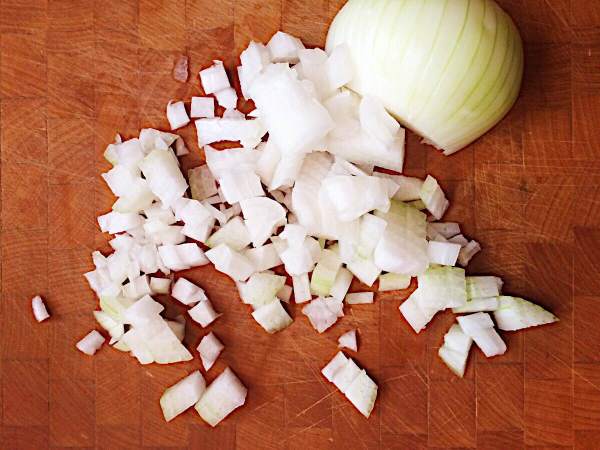
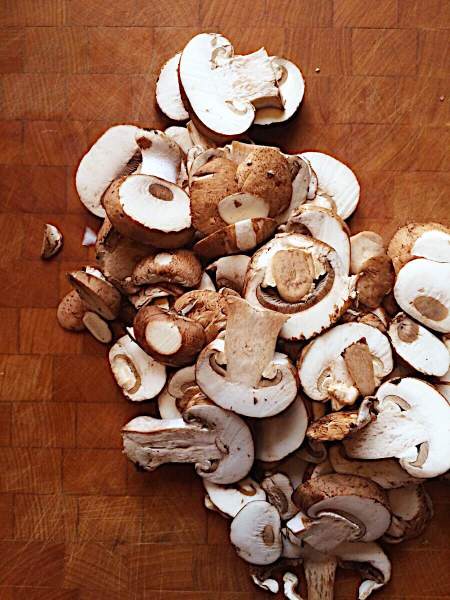
Mushrooms and onions add an earthy note to the dish, which pairs oh-so-nicely with the white wine that we’re incorporating into the base of the dish.

IMG_6864

IMG_6865

IMG_6866

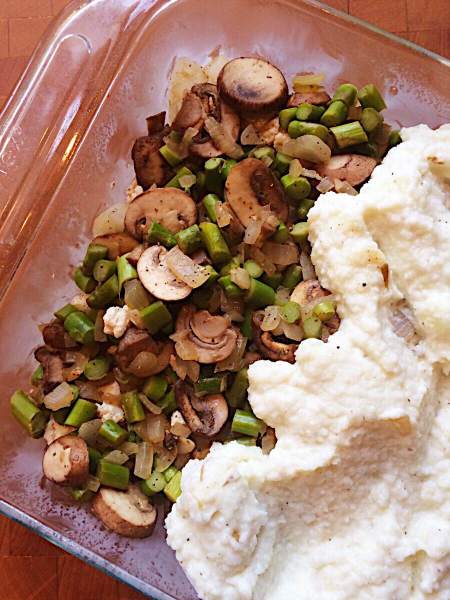
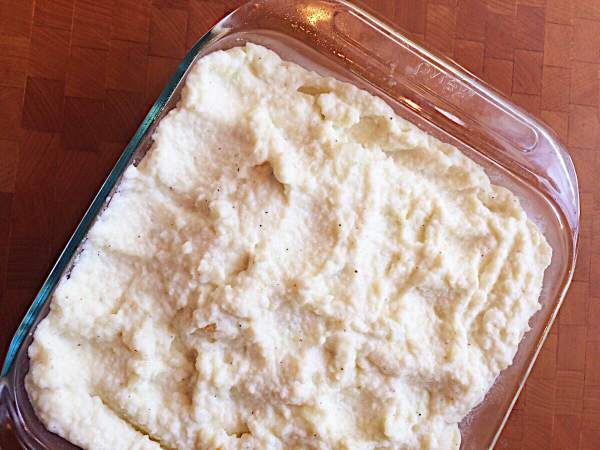
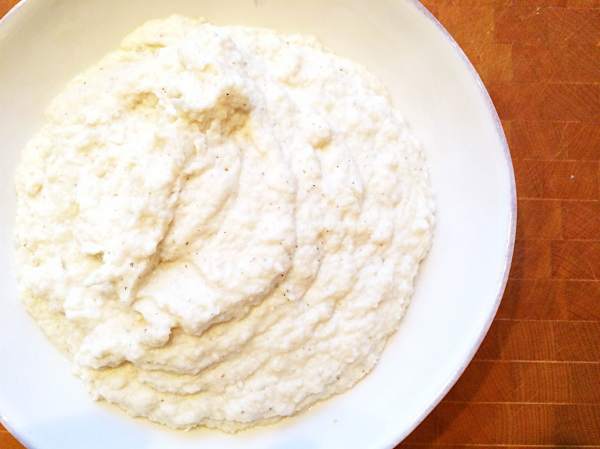
And of course, no shepherd’s pie is complete without a generous spread of mashed potatoes..but I went rogue and used my smashed cauliflower! Delicious.

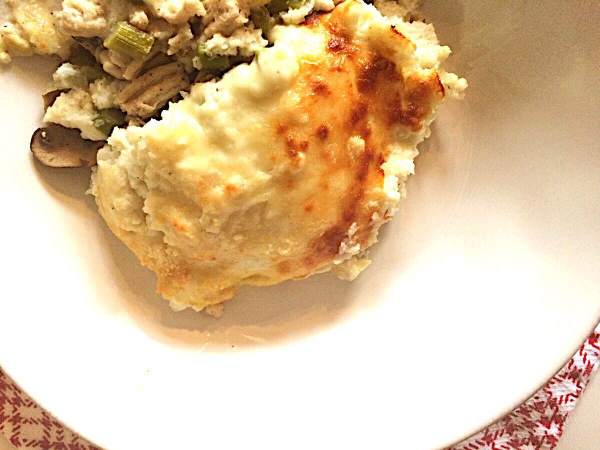
This is one dish you’ll want to recreate over and over, I promise. After the first bite, the hubs proclaimed it “one of the best casseroles he’s ever had.” The proof is in the pudding…er, casserole.

Here we go!

~~~

Vegas-Style Shepherd’s Pie

Never one to turn down a challenge, I decided on making some fun modifications to one of Vegas’ most famous restaurants; I took their classic roast chicken recipe and made it my own! 

Ingredients:

smashed cauliflower {here’s my go-to recipe…so quick and simple!}

1 lb. ground chicken {I used extra lean, because it was what I had on hand}

1 large onion, finely diced

1 box of baby portabello mushrooms, thinly sliced

1 lb. asparagus, washed and sliced into medallions

1/4 cup white wine {you can use chicken stock, for an alcohol-free version}

1/2 tsp. garlic powder

salt and pepper, to taste

olive oil for coating the pan

1/2 – 1 cup of cheese {your preference; this will be used for the topping}

To Prepare:

Preheat the oven to 375 degrees. Spray a glass 8″ x 8″ baking dish with nonstick cooking spray, and set aside for later.

Add a drizzle of olive oil into the bottom of a large nonstick saute pan. Bring up to medium heat; once the olive oil is sizzling, and in the ground chicken. Use a wooden spoon to break into pieces, and cook until done. Season with salt and pepper, and set aside.

Without cleaning the pan, add in the diced onion. Season to taste with salt and pepper, and add in the garlic powder. Cook over medium heat until the onions are translucent and beginning to soften slightly, about 7-10 minutes. Add in the white wine and bring the heat up to high {this will help cook off the alcohol, as well as reduce the liquid}. Add in the asparagus, and cook until tender, about 5 minutes. Lastly, add in the mushrooms and cook only until they begin to soften, about 3-5 minutes.

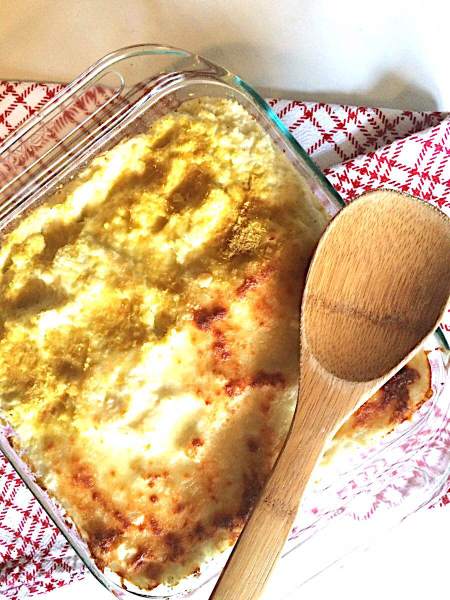
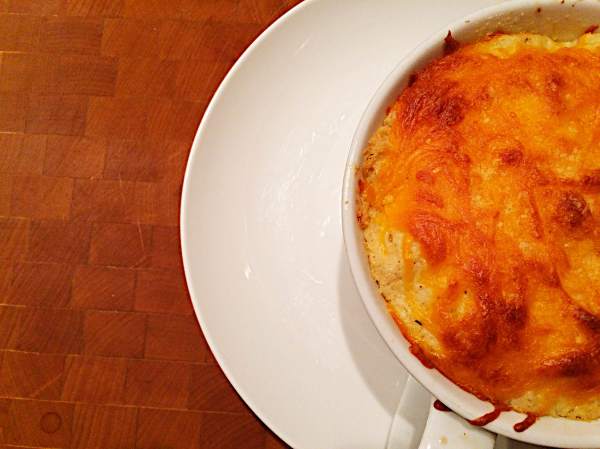
Prepare the casserole: place the cooked chicken into the bottom of your prepared baking dish. Next, top with the onion/asparagus/mushroom mixture. Evenly dollop the smashed cauliflower on top, making sure to seal in the edges. Lastly, top with the desired amount and type of cheese.

IMG_6868

IMG_6869

IMG_6870

Bake in the preheated oven for 25-30 minutes, or until bubbly and the top is beginning to brown slightly. For additional crunch, turn the broiler on and let it go an additional 1-2 minutes.

IMG_6872

IMG_6873

Enjoy!

summer seafood soup

Summer is a celebration of all things fresh and lovely; bursting forth with vibrant colors, herbacious notes and strong flavors. And, obviously, it’s a time to eat things that are lighter – not only because we’re no longer bundled up in layers upon layers of sweaters {I miss this part of you, winter!}, but because…let’s face it…who wants to be standing in a hot kitchen for any longer than they need to be?

Enter this soup.

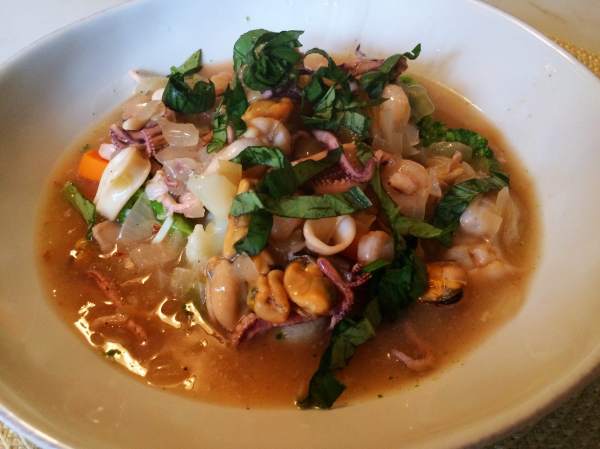
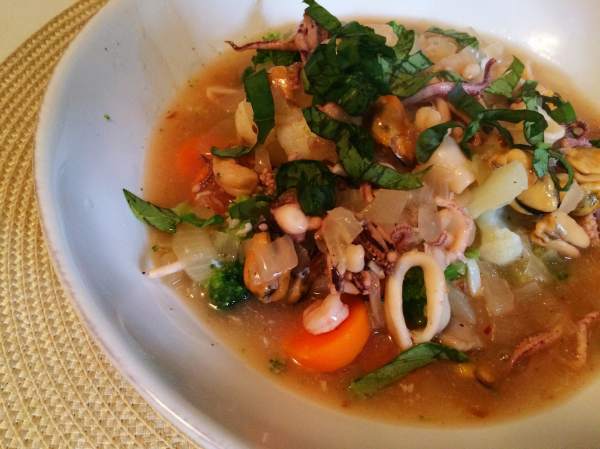
IMG_6711

I mean, who wouldn’t want to dive in, spoon first?

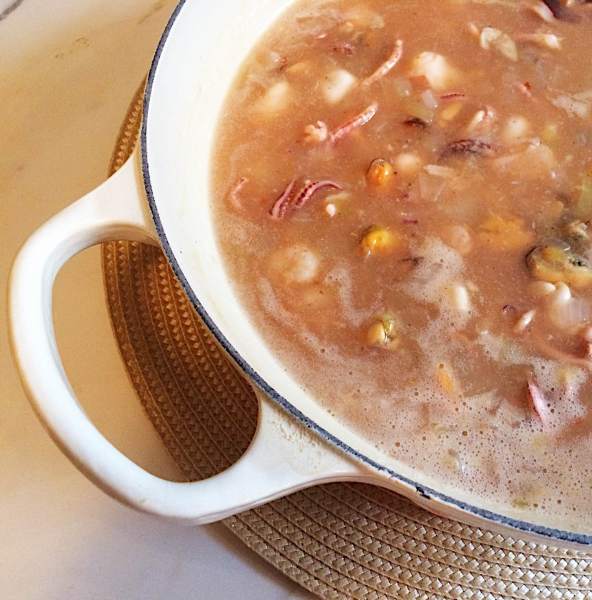
You all know by now that I have a huge spot in my culinary heart for all things soup – it doesn’t matter what time of year it is, how hot or cold it is…I will never, ever turn down a bowl. But sometimes, a girl’s gotta do what a girl’s gotta do…and sometimes that means making a soup that is “summer friendly.” So when this idea popped into my mind not long ago, I knew I had to make it happen. It’s as simple as utilizing a quality bag of your favorite seafood medley {where I live, fresh seafood is not always choice/easy to come by} and jazzing it up with LOADS of freshness – we’re talking crisp white wine, simple chicken stock, and a plethora of fresh herbs and vegetables. It comes together in one pot, and is the perfect summer weeknight meal – especially when eaten al fresco : )

IMG_6713

IMG_6712

~~~

Summer Seafood Soup {original recipe}

A fun twist on a classic seafood stew, this dish utilizes many pantry staples and can easily be manipulated to suit your particular tastes. Make a double batch and have dinner ready for the next day – serve atop pasta or rice with a smathering of fresh herbs, and you’re all set!

Ingredients:

1 lb. seafood medley {our local Kroger has a great blend you can get, right in the freezer department}

1 large white onion, finely diced

2 cloves garlic, minces

1 cup low-sodium chicken stock

1/2 – 1 cup white wine

olive oil

salt and pepper, to taste

crushed red pepper, to taste

fresh basil leaves, for garnishing {should equate to 1/4 – 1/3 cup once julienned}

**optional: if a thicker broth is desired, you can combine 1/2 T. cornstarch with 1/4 cup water. Slowly whisk into the soup until thickened to your liking**

To Prepare:

In a large nonstick sautese pan, generously drizzle in olive oil until the bottom is nicely coated. Once heated through, add in the diced onion. Cook over medium heat, 6-10 minutes, or until the onions are soft and translucent.

Add in the minced garlic and saute 3-5 minutes more, until the garlic has softened {the onions may be starting to turn slightly golden – that’s ok!}. Season the vegetable mixture with salt and pepper, as well as the crushed red pepper, to taste.

Add in the liquid ingredients {stock and wine} and bring to a slow simmer.

Add in the seafood medley, and cook according to the package directions {mine took about 12 minutes}.

Now would be the time to add in the thickening mixture, if desired. Once drizzled in, stir to combine and simmer for 5 minutes or so, until you can see the difference in texture.

Dish into large soup bowls, and top with the julienned basil leaves. I also like to add a bit of extra crushed red pepper flakes, too, for a bit of extra heat.

Serve with toasted bread for dipping. Enjoy!
IMG_6708

IMG_6713

sweet pea hummus

Like many, I tend to eat with my eyes first; taking in the different colors of the dish, its presentation on the plate, and what kinds of textures I can pick out with my naked eye.

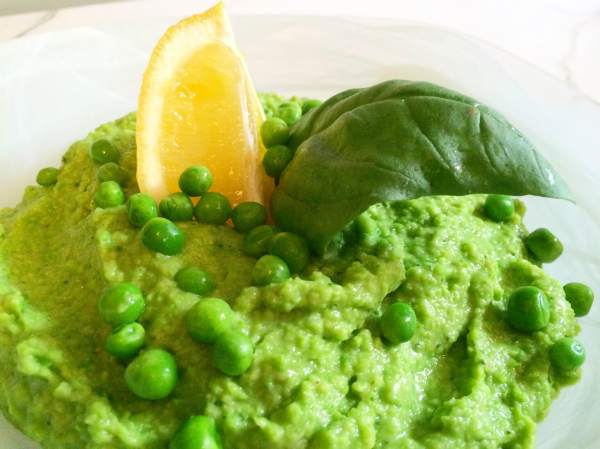
IMG_6687

So when I finished plating this delightful dip, I could not wait to dive in. Just take one look at that photo, y’all – beautifully bright green with fresh basil and succulent sweet peas. We know we’re going to get a pop of bright citrus from the lemon garnish. And you can tell it’s going to have a beautiful mouth-feel because of how velvety and luscious it looks in the bowl.

I may need another moment, and another look.

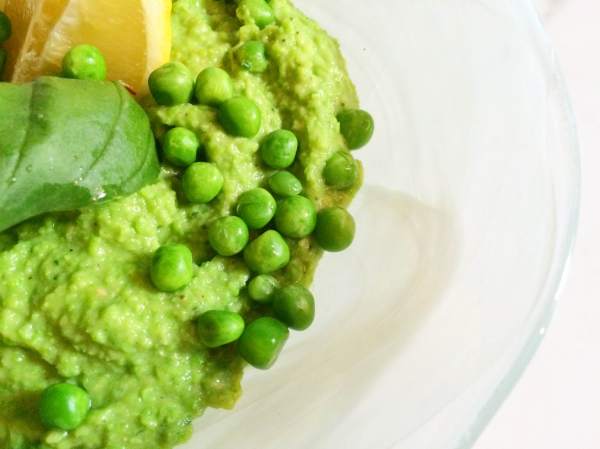
IMG_6689

This dish practically screams “summer” to me. We’re utilizing so many fresh ingredients today, many of which you should be able to get from your local farmer’s market or co-op. Aside from the weather, I can safely say that preparing dishes with so many fresh and local flavors is one of the best parts of my summer. I look forward to it every year; seeing what I can create with what I can either grow in my backyard, or what my friends grow. It’s a fun challenge, but oh-so-rewarding; you can taste the freshness bursting forth! This hummus is no exception.

I prepared it for a graduation party, served alongside hearty dippables {crusty bread, chips, pretzels}. But I can just as easily see myself stirring it into pasta salads, smearing onto a sandwich, or heck…the base for a pizza! Let your imagination run wild – that’s how some of the best dishes come about.

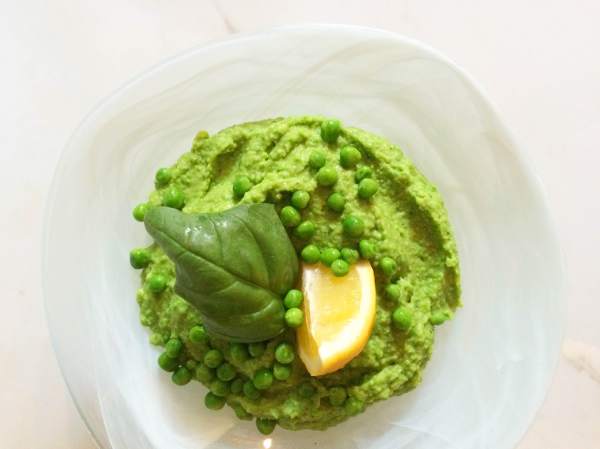
IMG_6687 IMG_6685

~~~

Sweet Pea Hummus {adapted, minimally, from Food52}

Ingredients:

1 can of white northern beans, drained and thoroughly rinsed

1-1/2 cups green peas {I used a frozen bag, and simply cooked and cooled slightly before assembling the dip}

2-3 T. freshly squeezed lemon juice

zest of 1 lemon

2 cloves garlic, roughly chopped

salt and pepper, to taste

4 T. fresh herbs {I used basil}

To Prepare:

Place the beans, peas, lemon juice, lemon zest, garlic, and fresh herbs into the base of a food processor and pulse to combine. Next, blend at a continuous speed until thoroughly emulsified {if the mixture is too thick for your liking, drizzle in a bit of olive oil or water}.

Taste the hummus, and add salt and pepper according to your preference.

Serve alongside crunchy vegetables, chips, or toasted baguettes.

IMG_6685

Enjoy!
The Wynn, Las Vegas

I love a good challenge, and a few weeks ago when my friends over at Vegas.com contacted me with just that opportunity, I knew I had to take them up on it!

More recently, the Wynn resort has paired up with renowned vegan chef Tal Ronnen to create dishes catered towards those who have chosen to adopt a vegan-or-vegetarian-based lifestyle. So what does this have to do with little ol’ me, you might ask? I got to pick a dish, any dish on their menu {the vegan/vegetarian menu is available all throughout the Wynn} and put my own twist on it. How fun is that, y’all!?

After hungrily perusing their menu and website, I knew I was going to stick with the one that jumped out at me right off the bat – the ‘Mushroom Risotto’, an offering at the Lake Side restaurant. Rustic and simple, but full of rich and earthy flavors, I knew that it was something I would want to recreate.

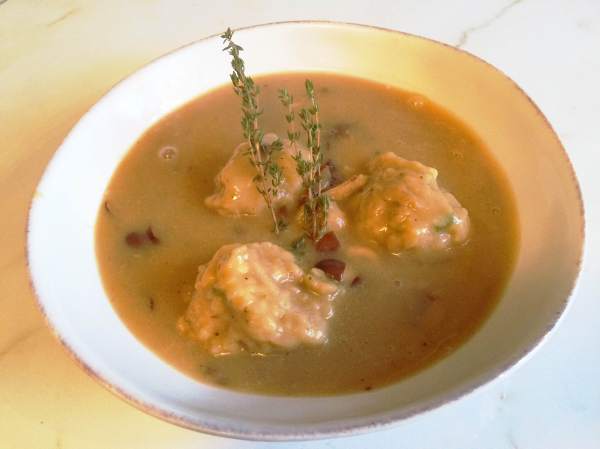
Now, all of you already know that risotto, while insanely delicious and enjoyable, is not exactly a “weeknight” friendly dish. While therapeutic and comforting to prepare, it requires a good amount of time and careful watching during the preparation; you can go from perfectly done to overcooked in the blink of an eye. So as I was thinking about how I wanted to change this up, my mind wandered over to the concept of…dumplings! Brilliant!

IMG_6041

By keeping the structure of the sauce {caramelized onions and fresh herbs, lots AND lots of mushrooms} the dish stays true to its roots, but is made a bit simpler for weeknight enjoyment. It takes only a few minutes to assemble, and only requires one dish for cooking! For my dishwashing hubby, that is the ultimate dream.

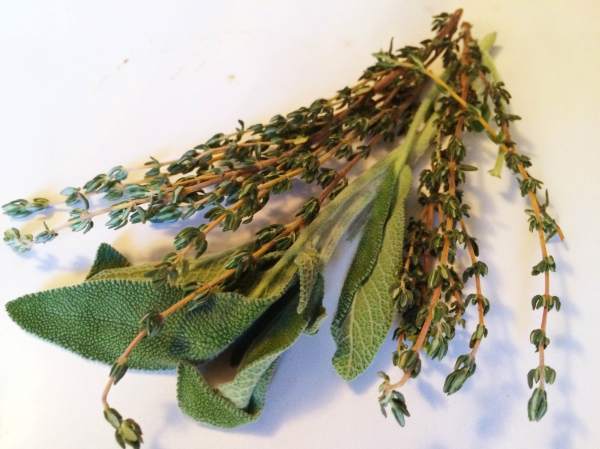
I also developed a bit more flavor in the base of the stew by caramelizing the onions with a splash of white wine – the bright notes {I used a chardonnay} make the dish lean a bit more towards spring flavors; it also helps you scrape up those wonderful bits of goodness on the bottom of the pan. The dumplings get an herbal punch with fresh thyme and sage, and nutritional yeast pumps it up with a subtle cheesy flavor and a bit of added protein.

IMG_6035

IMG_6036

IMG_6037

IMG_6038

Be sure to check out @Vegas to see what other bloggers have come up with! Enjoy, and happy cooking!

~~~

Mushroom Stew & Herb Dumplings 

You can’t mess with a classic like this dish. Perfectly wonderful served piping hot, right off the stove top. I’ve noted where options can go from vegetarian to vegan; feel free to adapt as you like! 

Ingredients:

5 to 6 cups vegetable stock {amount will vary on how thick the stew becomes when cooking the dumplings}

1 tsp. dried oregano

1 tsp. dried thyme

3 garlic cloves, minced

1/4 cup white wine

4 cups assorted seasonal mushrooms, wiped clean and sliced

2 tablespoons olive oil

1 large onion, peeled and diced

Herb Dumpling Ingredients:

2 cups flour {I used gluten-free}

1/4 cup nutritional yeast

1 tablespoon baking soda

1/2 teaspoon salt

3 tablespoons butter {for a vegan option, a buttery spread can be substituted}

1-1/2 cups low-fat buttermilk {for a vegan option, a nut milk of choice can be used}

1 teaspoon fresh thyme

1/2 teaspoon fresh sage

pepper, to taste

Stew Directions:

In a large sauce pot over medium heat, add in the olive oil. Once hot, add in the onion. Season to taste with salt and pepper. Saute until golden brown in color, about 10 minutes. Add in the wine, scraping the bottom to loosen up any bits. Stir in the mushrooms, garlic, oregano and thyme. Cook until the mushrooms have softened and darkened in color, about 10 minutes. Pour in the stock; raise the heat and bring to a boil.

Prepare the dumplings while waiting for the stock mixture to boil – in a large mixing bowl, combine the flour, nutritional yeast, baking soda, fresh thyme, fresh sage, and salt. Whisk to combine and then add in the butter, buttermilk and pepper.

Once the stock mixture is boiling, drop the dumpling dough in using two large spoons {like making drop cookies}. Boil until the dumplings are cooked through, about 20 minutes. Ladle into large soup bowls and enjoy!

IMG_6042

shepherd’s pie

St. Patrick’s Day is just around the corner, and what better way to celebrate than with a delicious and hearty meal?

Shepherd’s Pie has long been a favorite in our household; it’s easy to prepare, utilizes common ingredients most of us have on hand, and can be stretched to feed anywhere from a few people to an entire army. I love sitting down to a piping hot serving after a long day at work; the aromas are so therapeutic, and seeing the steam wafting from the bowl just brings about the most soothing feeling.

IMG_5690

IMG_5689

When I decided to make this, I decided to veer slightly from tradition, but still maintain the integrity of the dish. After all, you can only adjust a recipe so much before it takes on an entirely new face, no? So rather than go all crazy and try to tweak every little aspect, I picked the common denominators – the ground meat and the usual mashed potatoes – and decided to just play around with those.

The result? Lean ground turkey and mashed cauliflower!

IMG_5685

IMG_5686

IMG_5684

This take is full of flavor, texture, and…it just makes you feel good. In my humble opinion, that is the best kind of dinner – fresh, simple, and leaves you feeling good; maybe wanting more, or…maybe just reach for a Guinness and call it a night. Your call!

Slainte!

~~~

Shepherd’s Pie {adapted from Epicurious}

What better way to ring in the celebration of St. Patrick’s Day than with a traditional dish? Quintessential in our household, this will satisfy the pickiest of palettes. The best part? – it’s healthy and good for you!

Ingredients:

1 Tbsp. vegetable oil

1 large onion, peeled and chopped

1 large carrot, peeled and chopped

3 large cloves garlic, minced

1 lb. ground meat {I used a 93% lean ground turkey – but feel free to use ground beef, ground lamb, etc.}

1 to 1-1/2 cups tomato sauce

1 Tbsp. tomato paste

1 tsp. dried rosemary

1 Tbsp. dried parsley

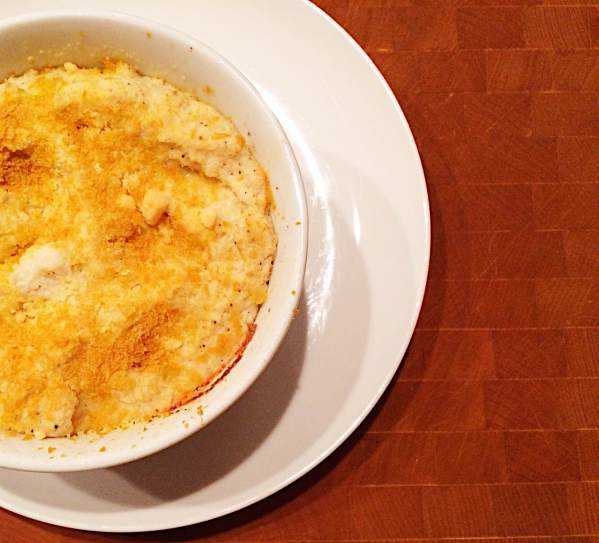
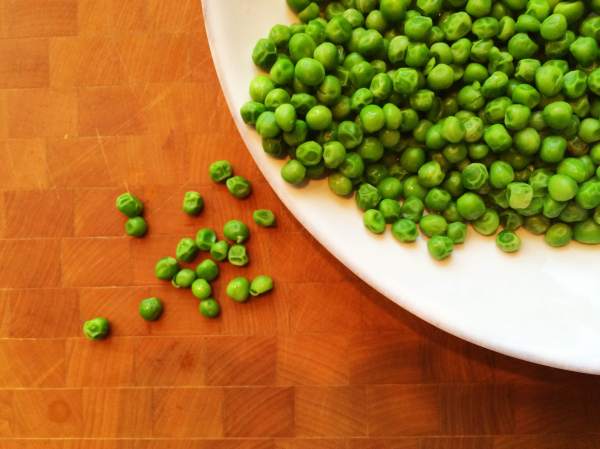
1 to 1-1/2 cups frozen peas, cooked and cooled slightly

mashed cauliflower {here’s my version!}

salt and pepper, to taste

optional: grated cheese of your choice for topping 

To Prepare:

Preheat oven to 375 degrees. Spray a glass baking dish {8″x 8″ or 9″x 9″} with nonstick cooking spray and set aside. Alternatively, like I did, you could use two individual baking dishes.

In a large saute pan over medium-high heat, heat the oil, then add the onion, carrot, garlic and meat. Season to taste with salt and pepper. Cook until brown, 8 to 10 minutes.

Drain the fat and then add the tomato sauce, tomato paste and herbs. Simmer until thickened, about 10 minutes.

In the baking dish{es}, layer in the meat mixture, then the cooked peas, and finally top with the meat mixture. Garnish as you like with cheese.

Bake until golden brown and bubbling, 30 to 35 minutes.

spinach & squash galette

This dish is almost, almost too pretty to eat.

IMG_5304

IMG_5302

I often find that some of my most favorite recipes happen to be the ones that I throw together during the week, with whatever ingredients I happen to have kicking around in the refrigerator and/or freezer. Because sometimes I simply lack the energy to run to the grocery store after work and want to get dinner prepped and in the oven as soon as I can. This dinner was the result of said night.

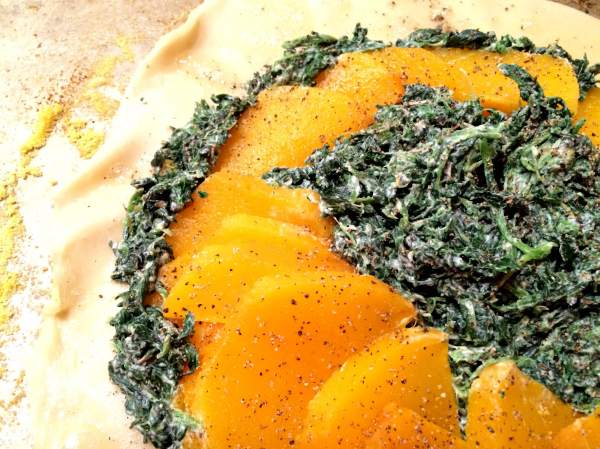
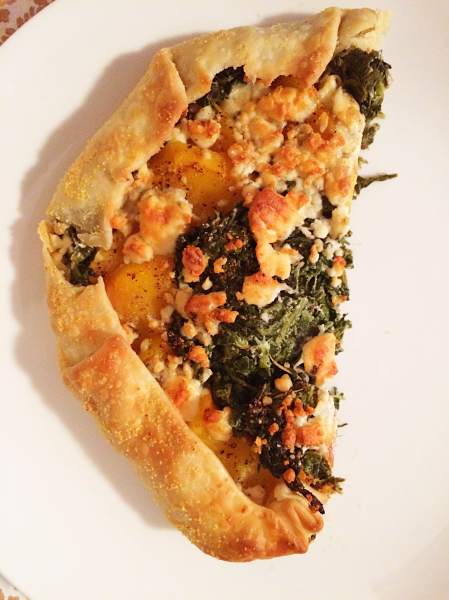
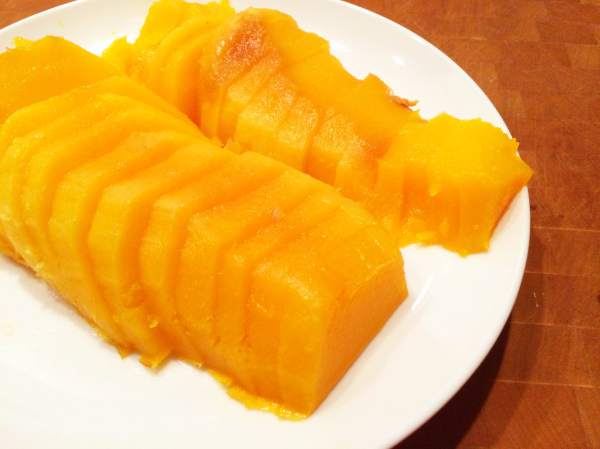
And let me just say that I could not be more thrilled with how fantastic this dish turned out. Leftover roasted butternut squash fanned out atop flaky pie crust, a creamy spinach center, and finished off with tangy blue cheese made for the most comforting dinner we’ve had in awhile.

IMG_5296

IMG_5298

IMG_5295

It’s hard to keep your “groove” in the kitchen during the week, especially after a long day of work. The hubs and I enjoyed every last crumb of this meal, feeling so satisfied and warm, it was as if this galette had given us both a comforting hug. Almost.

~~~

Spinach & Butternut Squash Galette {original recipe}

Easy to prepare with pre-roasted squash, frozen spinach and a handful of herbs and cheese, you’ll have dinner on the table in no time flat! Both you and your taste buds will be 0h-so-happy to dig in. 

Ingredients:

1 prepared pie crust disc {about 9″ in diameter}, room temperature

cornmeal {for dusting the baking sheet}

1 bag of frozen spinach, thawed and drained of any excess water

1 medium butternut squash, roasted/cooled and cut into medallions

1 cup of Greek yogurt {I used 0% fat because it’s what I had on hand, but you can use whatever your preference is}

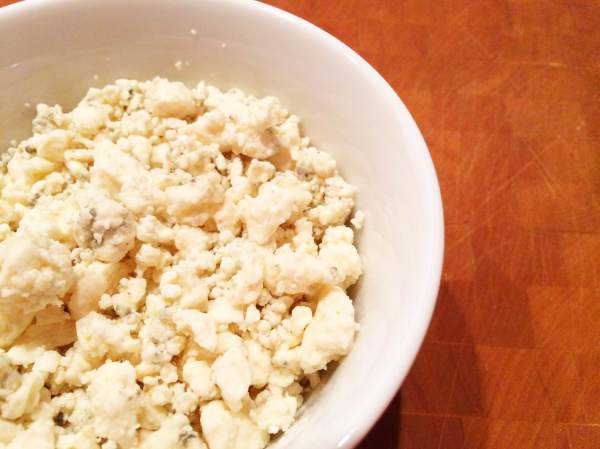
8 ounces of crumbled blue cheese

1 tsp. dried oregano

1 tsp. dried rosemary

1/2 tsp. onion powder

1/2 tsp. garlic powder

salt & pepper, to taste

To Prepare:

Preheat oven to 400 degrees. Spray a baking sheet with nonstick cooking spray, sprinkle with cornmeal.

Unroll the thawed pie crust into the center of the baking sheet, making sure that the entire surface is smooth. Starting about 1″ in from the edge, fan out the roasted butternut squash so that the half-moon pieces overlap slightly; essentially creating a spiral shape. It should make about 2 full spirals. Continue to fan out until you have a well in the center about 4″wide {this can vary slightly, depending on the size of the squash}. Season to taste with salt and pepper.

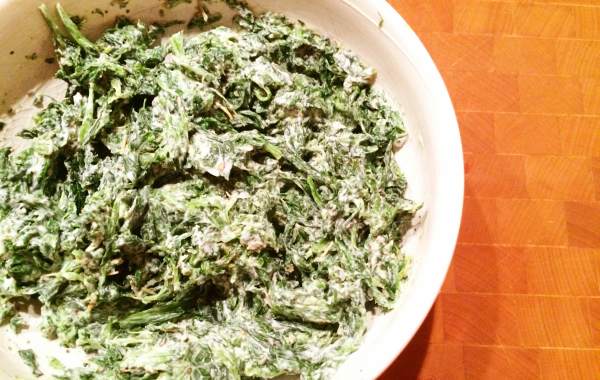
In a small mixing bowl, combine the spinach, Greek yogurt, spices and season to taste with salt and pepper. Place this mixture into the center well of the galette and, if you find yourself having a bit extra, around the outermost edges of the squash {make sure to do this in a very thin line!}.

IMG_5299

IMG_5300

Fold the edges of the pie crust over top of the squash, being careful to not stretch too thin! Overlap each fold slightly, so that it folds on top of itself. Brush with a bit of water to ensure the edges get crisp. Sprinkle the exposed vegetables and spinach mixture with the crumbled blue cheese.

IMG_5301

Bake for 25 minutes, or until the edges begin to turn golden. Increase the heat to 425 degrees and bake for 5-10 minutes more; this will result in a browned center with crispy edges. Allow to cool 5-10 minutes before cutting into wedges and serving.

IMG_5303

Enjoy!
crock-pot split pea soup

Yes, yes – another crock-pot recipe.

c/o Whole Foods

c/o Whole Foods

Y’all, I honestly just can’t help myself!…we’re in the throes of winter, the sun is barely out, it’s gloomy and I JUST.WANT.TO.EAT.ALL.THE.SOUP. Forever and always.

Well maybe not for that long, but as long as this weather continues to be dreary, I find myself craving rich and hearty dishes. The kind that warm you from the inside out, and stick to your ribs so you don’t succumb to winter’s chill. Sure, I’ll give into the rich and luxurious dishes that winter is so well known for {like this and this and this}, but sometimes…sometimes, a girl wants that warm and fuzzy feeling without feeling weighed down, too!

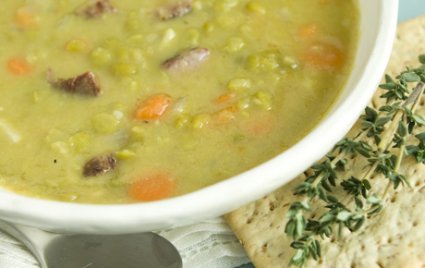
So that’s where my split pea soup comes in. I would be lying if I said that this wasn’t one of the easiest dishes on the planet to prepare. It literally takes 10 minutes; from the time you pull out your crock-pot until you’re layering in the ingredients, this is a meal you could find the time to make, even if you slept through your alarm. And man oh man, is it worth it! Chock full of winter vegetable goodness, it’s easy on the wallet, too! One delicious bite in, and your taste buds will be in split pea heaven. Truth.

IMG_5171

IMG_5175

IMG_5177

~~~

Crock-Pot Split Pea Soup {recipe adapted, minimally, from Whole Foods}

Requiring no prep work other than layering all ingredients in the crock pot, this soup is an ideal weeknight meal. Low-fat and full of vitamins, why not do your future self a favor and make a double batch? It freezes beautifully!
Ingredients:

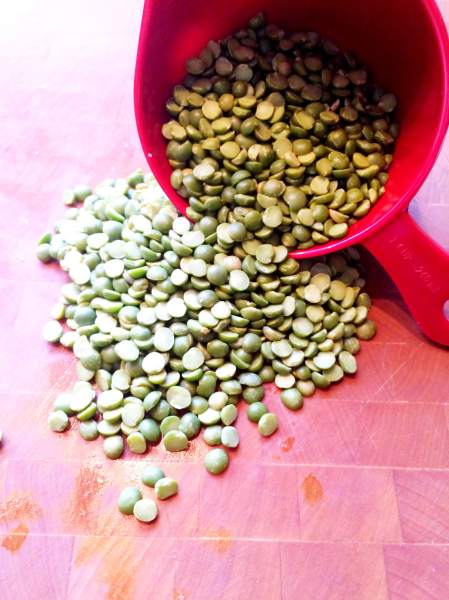
1 {16-ounce} package dried green split peas, rinsed

1 package of ham ribs {you can also use a ham bone, 2 ham hocks or 2 cups of diced ham}

1 cup sliced baby carrots

1 onion, finely diced

2 cloves garlic, minced

2 bay leaves

8 cups low-sodium chicken stock

salt & pepper, to taste

optional: 2 ribs celery plus leaves, chopped

To Prepare:

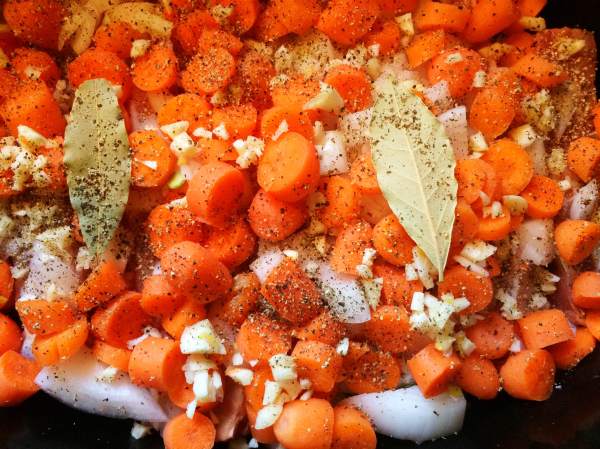
Layer ingredients in your slow cooker, in the precise order given. Add in the stock last.

IMG_5174

IMG_5173

IMG_5172

IMG_5176

IMG_5178

Cover and cook on high {4-5 hours} or low {8-10 hours} until peas are very soft and the ham is falling off the bone. Serve with toasted baguettes.

smashed cauliflower

Right about now, it seems as though everyone is starting fresh along with the new year. Time to cut back on indulgent treats and start eating clean, they say! 
There is certainly nothing wrong with that! I love the start of the new year; acting as a clean slate for many of us, why not use this time to pursue goals and dreams we may have pushed to the back burner? But let’s not deprive ourselves, regardless of our goals! After all, shouldn’t we treat them as lifestyle changes, rather than just looking for a quick fix?

For those who may have set fitness goals, whatever they may be – boy, do I have a spectacular side dish to share today! A beloved side dish, mashed potatoes, is getting a new look…and that look is cauliflower! I realize that many people tend to shy away from this vegetable {I was one of them for a long time!}, but this is one that is so versatile, it can be transformed in countless ways. A nutrition-packed powerhouse, it boasts a low carbohydrate count and low fat content; it contains vast amounts of fiber, folate, and vitamin C. What’s not to love?

IMG_5006 IMG_5008

We’re keeping it simple and sweet here today, but don’t be afraid of transforming your dish however you like! Smashed garlic, chili flakes, a sprinkle of sharp cheddar cheese on top…the possibilities are endless. Make it your own, and make it special! You deserve it.

~~~

Smashed Cauliflower

Simple and delicious, this makes a wonderful replacement side dish for classic mashed potatoes. Lower in carbs and big on flavor, you won’t miss those potatoes a bit!

Ingredients:

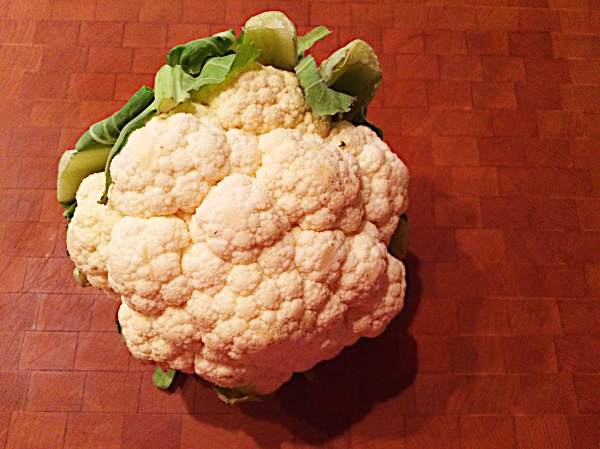
1 head cauliflower, rinsed and trimmed

1/4 – 1/2 cup low sodium chicken stock

1/3 block of cream cheese {I like to use a greek-yogurt blend}

salt and pepper, to taste

To Prepare:

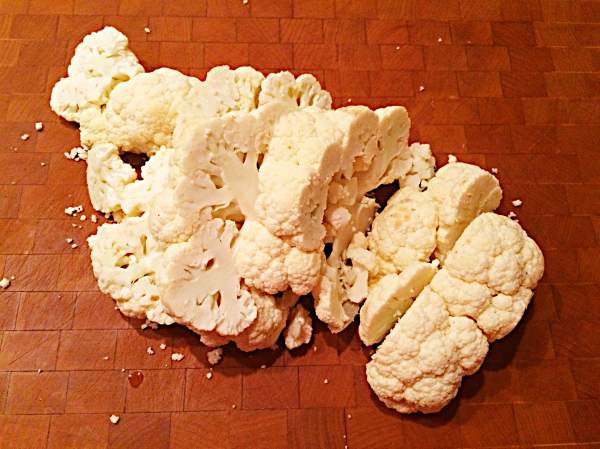
Bring a large saucepan {filled halfway with water} to a full boil. Add in the cauliflower pieces and cook until fork tender, about 8-10 minutes.

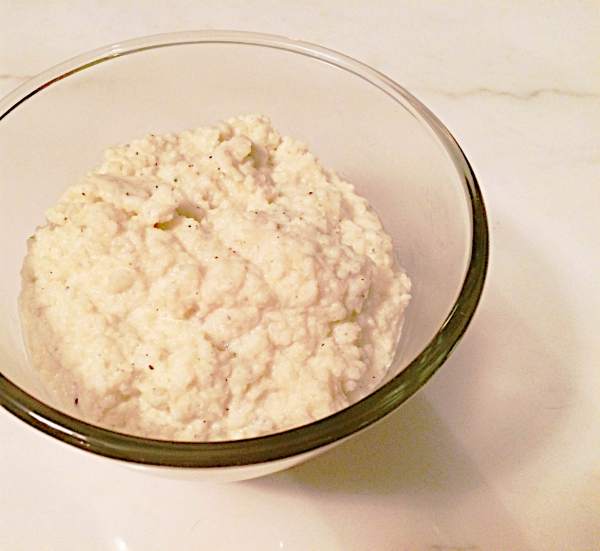
Once cooked through, drain off water and place in a large bowl. Using a potato masher/hand mixer/immersion blender, puree just until broken up. Add in the cream cheese and mix well; slowly drizzle in the stock until desired consistency is reached. Season to taste with salt and pepper.

IMG_5009

Enjoy!